
Today, we are introducing Resolved by Timer.
It is a timer you can set on your incidents. When the timer runs out, the incident resolves on its own.
Not all incidents need manual attention. Sometimes they just sit on dashboards, adding noise long after they have stopped mattering. And when that happens, Spike also treats them as “open incidents,” which can end up suppressing new alerts if the same problem re-triggers later.
Resolve Timer solves both problems. It clears out stale incidents so dashboards stay clean, and it prevents old incidents from blocking new alerts that should reach your on-call responder.
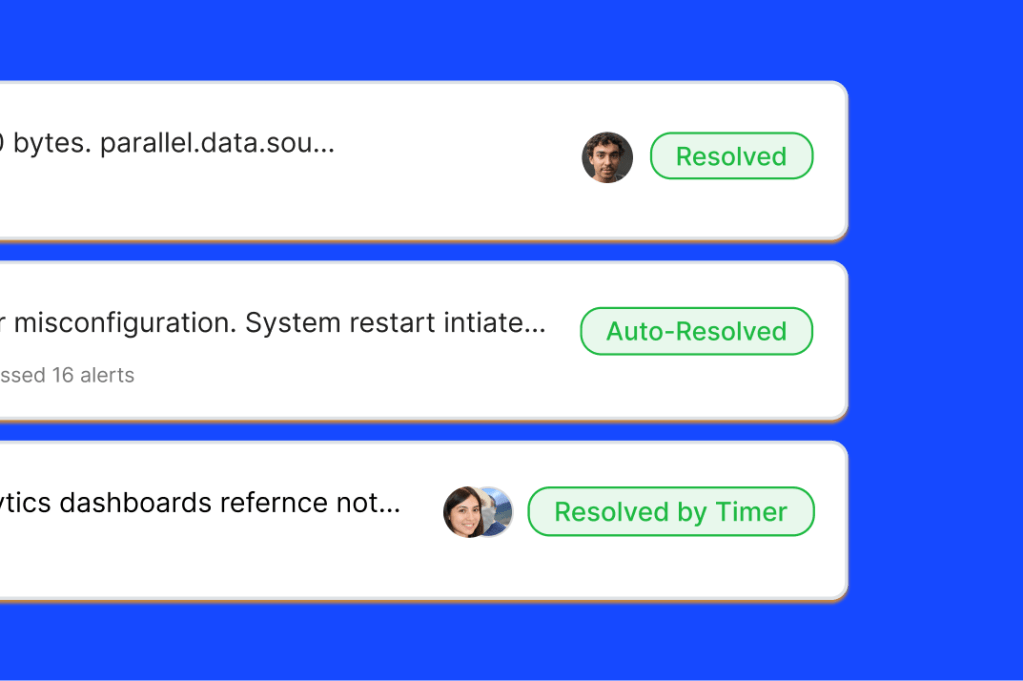
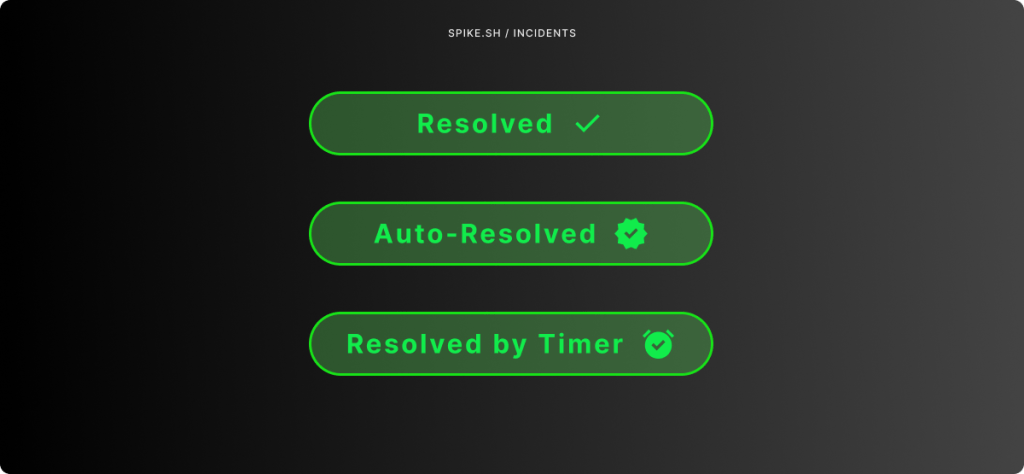
With Resolve Timer, incidents in Spike now have three clear resolution states:
- Resolved – closed by someone on your team.
- Auto-Resolved – closed automatically when the integration reports recovery.
- Resolved (Timer) – closed after a set timer runs out.
This clarity makes it easier to see at a glance how an incident was resolved, whether you’re browsing dashboards or looking back through timelines.
Why we built it
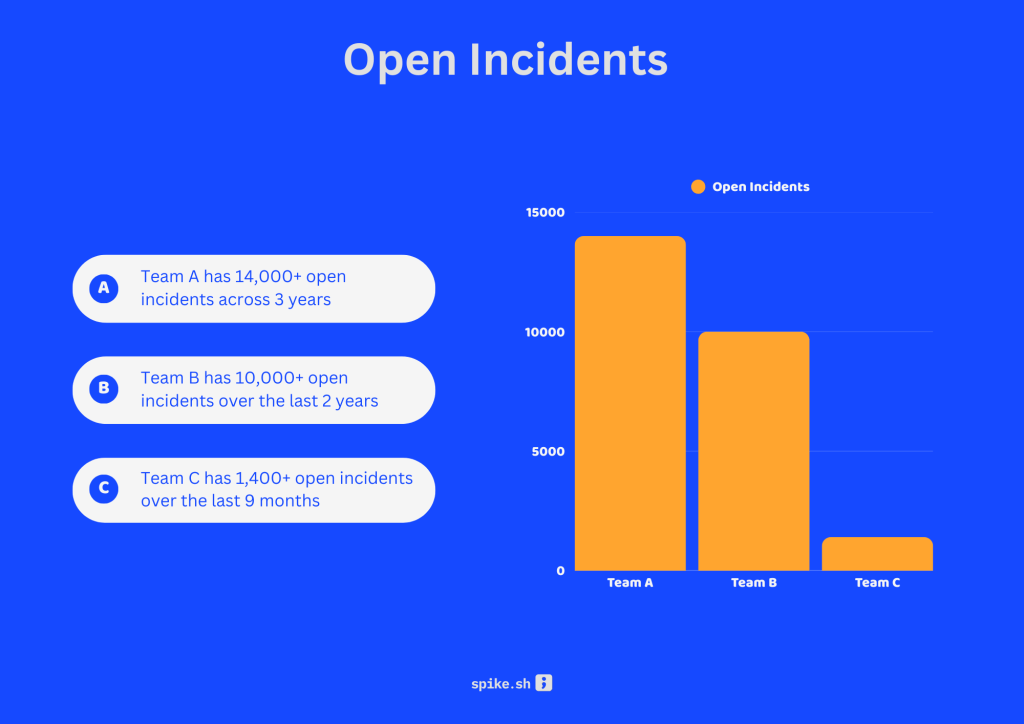
When we dug into how teams were using Spike, one thing stood out: open incidents pile up fast.
We found teams with thousands of incidents still marked “open.” One team had more than 14,000 open incidents, some untouched for over three years. Another had 5,700. Even smaller teams had hundreds. At that scale, dashboards stop being useful and they look like never-ending backlogs instead of a live view of which incidents matter now.
And it isn’t just clutter. In Spike, if an incident stays open, it’s still treated as triggered. That means if the same issue shows up again weeks or months later, Spike can suppress the new alert. No one gets notified, even though the problem is back.
Resolve Timer was built to fix both. It closes out stale incidents automatically so dashboards stay clean, and it makes sure old incidents don’t block new alerts from reaching your on-call responders.
This wasn’t just our idea. We’ve been seeing more and more teams migrate from PagerDuty and OpsGenie, and Resolve Timer came up as a customer request in that process. It fit naturally into their workflow, and we felt this was the right time to bring it to Spike.
We also explored other options like reminders, but decided against them because they risked adding more noise.
How it works
Once a Resolve Timer is set, every new incident from that integration, alert rule, or playbook step starts counting down the moment it’s triggered. You’ll see a small, non-intrusive timer next to the incident in your dashboard so it’s clear when it will resolve.

If the timer runs out, the incident’s status automatically updates to Resolved by Timer. No extra clicks, no manual cleanup.
And you’re always in control. If you decide to work on the incident, you can cancel the timer at any time and keep it open as long as you need.
More Ways to Use Resolve Timer
When we designed Resolve Timer, we didn’t want it to be hard-bound to integrations. Sure, you can attach it at the integration level and have every incident from that source resolve on a timer, but that felt too rigid.
Our thinking was simple: not every alert deserves the same treatment. Some alerts are noise, some are meaningful, and some you only want to keep open if someone actually takes action on them. So we built Resolving with Timer to work inside Alert Rules and Playbooks.
With Alert Rules, you can say: “If this type of alert comes in and matches these conditions, add a Resolve Timer.” With Playbooks, you can make it part of your automation chain — create a Jira or Linear ticket, trigger a script, notify a channel, and add a timer to resolve the incident after 48 hours or a week if no one touches it.
This way, Resolve Timer isn’t just a cleanup tool. It’s part of your workflow design. You choose where timers make sense, and you’re never forced into an all-or-nothing setup.
How To Set It Up
You can add a Resolved by Timer in three different places:
- Integration settings – Apply a timer to all incidents from a specific integration.
- Alert Rules – Apply a timer only to alerts that match certain conditions.
- Playbooks – Add a timer as part of a set of automated actions.
To set it up for an integration:
- Go to your service’s Integration settings
- Find the Resolve Timer option
- Set your desired time and save changes
That’s it. New incidents from that source will now include the timer.
Read the docs for full instructions →
Closing Thoughts
We didn’t build the Resolve Timer just to close old incidents. We built it to make incident response workflows smarter. From integrations to alert rules to playbooks, it fits wherever you need it without adding noise or complexity.
We think you’ll appreciate this feature more and more as you use it. Over time, it makes dashboards lighter, keeps alerts flowing when they should, and frees up your on-call team to focus on the incidents that really matter.
And because we believe every team should have it, Resolve Timer is available on all Spike plans.
Try it out today and see how it changes the way your team works with incidents.