When incidents strike, your on-call engineer jumps in first. They assess the issue, triage it, and try to resolve it.
But sometimes, they can’t solve the problem or aren’t available. That’s when escalation policies step in to find the right backup.
In this guide, I’ve explained how escalation policies work, why every team needs them, and how you can set up one. Also, I’ve included ready-to-use templates to help you get started fast.
Table of Contents
What is Incident Escalation
Incident escalation is when you pass a problem to someone else. This happens when the first responder needs help to fix an issue.
At Spike, Daman usually handles incidents. When he needs help, he escalates it to Kaushik. They both work together to resolve the issue faster.
What is an Escalation Policy
An escalation policy is a set of rules to route the incidents to the right people when the on-call engineer is unavailable or unable to fix the issue.
It maps out who gets called first, who’s next in line, and how long to wait between each step.
The purpose of an escalation policy is to get the right person involved at the right time. It makes sure no incident is unresolved because people don’t know who to call next.
Example of an Escalation Policy
At Spike, our users can add custom domains for their status pages. When they do this, an SSL certificate is generated for them.
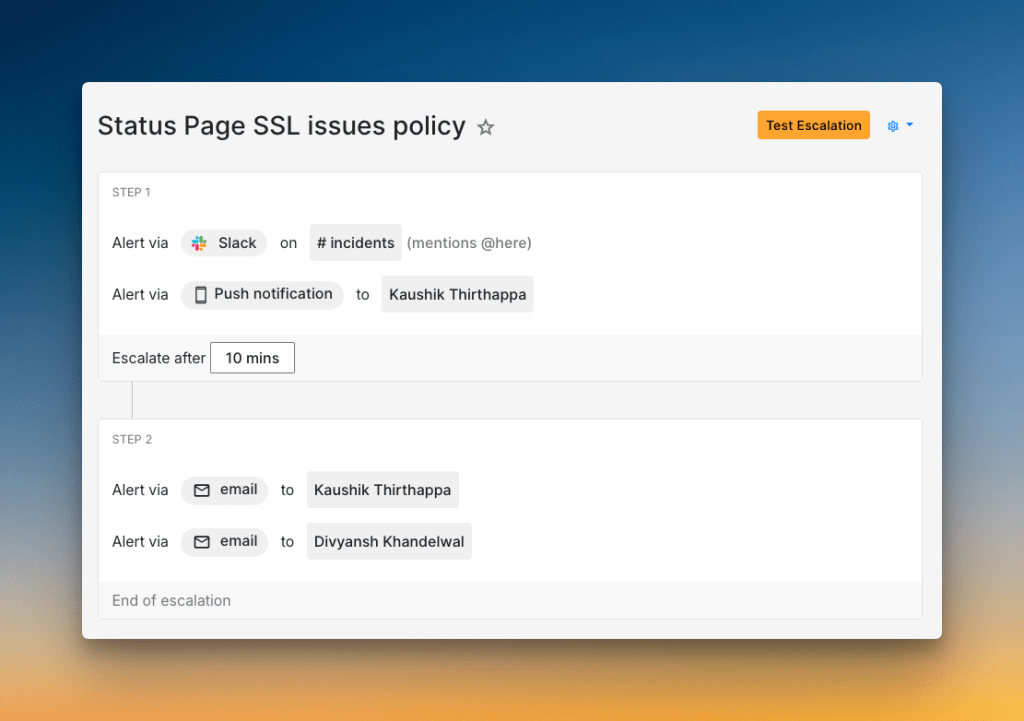
Sometimes, the SSL generation fails. To handle this, we use a specific escalation policy.
Here’s how it works:
Step 1: First, an alert goes to our #incidents Slack channel, mentioning @here to get the team’s attention. At the same time, a push notification is sent to Kaushik. We then wait 10 minutes. This gives Kaushik time to see the alert and start working on it.
Step 2: If the incident is still not acknowledged after 10 minutes, the policy escalates. An email is sent to Kaushik, and another email is sent to Divyansh.
This two-step process helps us catch SSL issues fast. It makes sure problems don’t get missed, which keeps our customers’ status pages secure and running smoothly.
Why Do You Need an Escalation Policy
Without escalation policies, critical incidents can sit unresolved for hours. The first responder might be stuck or unavailable while your systems stay broken.
This creates chaos and long downtimes. Customers get angry, and your team feels stressed.
Escalation policies fix this problem. They give your team a clear roadmap to follow when things go wrong.
Key benefits include:
- Faster resolution – The right person gets involved at the right time
- Prevents missed alerts – Backup responders get notified automatically
- Reduces stress – Everyone knows who to contact during incidents
- Meets SLAs – Quick escalation helps you hit response time goals
- Builds accountability – Clear ownership at each step
Key Components of an Escalation Policy
Every escalation policy has three main parts. They work together to get incidents to the right people.
- Responders: People who get alerts. This could be an on-call engineer, a team lead, or a subject matter expert.
- Alert Channels: Tell how responders get notified. Common channels are phone calls, SMS, push notifications, and Slack messages.
- Escalation Delays: These include:
- Delay at each step: How long to wait before alerting the next person
- Acknowledgment timeout: How much time a person has to resolve an issue before it moves to the next person
- Repetition time interval: How often to repeat the entire policy if the incident remains unresolved
Different Types of Escalation Policies
You can set up your escalation policies in different ways. The best choice depends on your team’s size and how you work.
There are two main types: manual and automatic.
1. Manual Escalation Policy
With manual escalation policy, the on-call engineer decides when to ask for help. This gives them control over the incident.
There are two common ways to do this:
- Hierarchical: The engineer escalates up the chain of command. They might contact their team lead first, then their manager.
- Functional: The engineer escalates to another team with specific skills. For example, a database issue might go to the database team.
Manual escalation works well when issues need human judgment.
2. Automatic Escalation Policy
Automatic escalation policy uses rules to pass incidents to the next person. This is useful for making sure critical issues get attention fast.
There are many types of automatic escalation but to get an idea, let’s discuss time-based escalation.
A time-based escalation policy lets you route alerts to the day-shift team during their work hours and to the night-shift team overnight automatically. This makes sure the right people are always ready to handle issues.
How to Set Up an Escalation Policy
First, you need an incident management tool (something like Spike). Then, add all users and let them configure their alert channels (phone number, email, Slack, etc).
Now you’re ready to build your escalation policy. For each step, you need to:
- Add responders: Choose who gets contacted at this level
- Select alert channels: Pick how they get alerted (phone, SMS, email)
- Add time delays: Set how long to wait before moving to the next step
After you set up the policy, trigger test alerts. Make sure everything works before a real incident happens.
Escalation Policy Templates to Get You Started
Spike offers the following ready-to-use escalation templates:
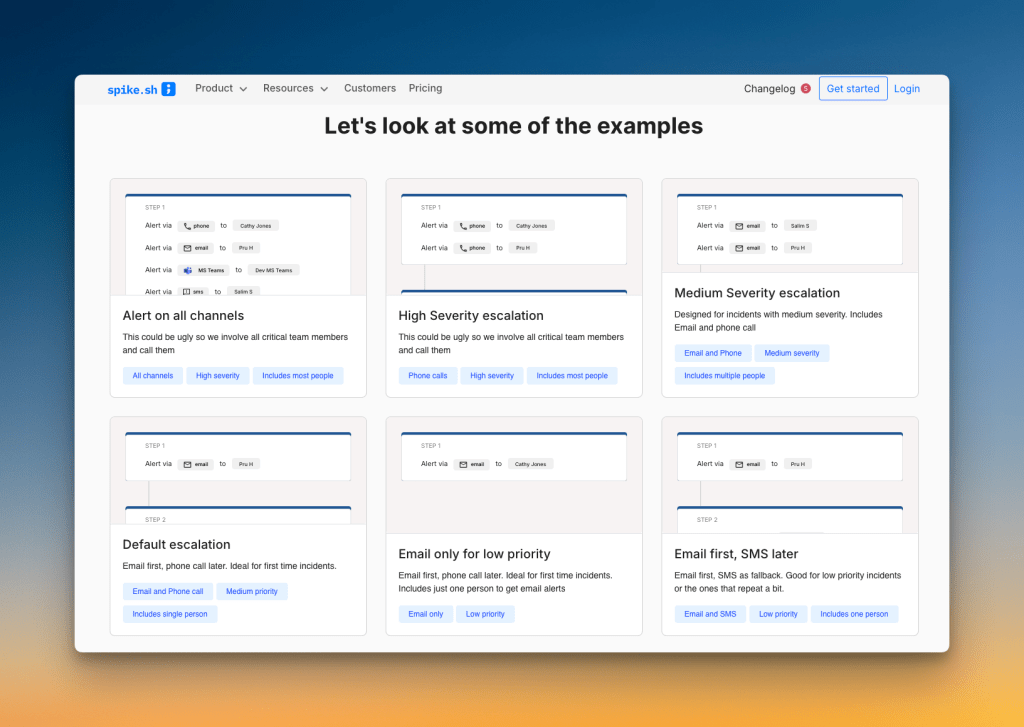
- High Severity Escalation – This template is for major incidents, like a payment gateway failure. It alerts everyone on the team through phone calls to get all hands on deck quickly.
- Medium Severity Escalation – This is for moderate incidents, such as a slow database query. It starts with an email and follows up with a phone call to key people.
- Email Only for Low Priority – This template is for issues that are good to know but not urgent, like CPU usage hitting 40%. It sends an email to a single person.
- Alert on All Channels – This is another option for critical incidents. It contacts most of your team members on every channel at once.
- Escalation for 2 People – This is ideal for new types of incidents where you are unsure of the impact. It sends an email first, then a phone call to two on-call members.
Best Practices for Designing Escalation Policies
- Add wait time for auto-resolvable issues: Some incidents resolve themselves within a few minutes. Add a 3-5 minute wait time before the first alert. This prevents unnecessary noise.
- Set acknowledgment timeout: Don’t let acknowledged incidents sit unresolved. Set a 30-60 minute timeout so the escalation policy continues if the person doesn’t fix the issue.
- Repeat Escalation Policies: For critical incidents, you need to make sure someone takes action. Set the policy to repeat every 15-30 mins until the issue is acknowledged or resolved.
- Use Multi-Channel Alerting: Don’t rely on a single channel. Send alerts through phone calls, SMS, and Slack to increase the chances of a quick response.
- Add automations: Create alert rules that automatically load the right escalation policy. For example, any incident with “Database” in the title triggers a database-specific policy.
Here are some additional best practices we follow at Spike:
- We keep our policies lean. They alert the on-call person first, then a secondary person or Slack channel. A manager is the last step, just in case everyone misses it.
- For a few integrations, we have a two-person on-call rotation. The policy alerts the primary person first, then the secondary. This provides an immediate backup.
- We avoid phone calls for everything. Phone calls are for critical incidents only. For these, we use an alert rule to automatically apply our “critical incident” policy.
- Low-priority alerts go straight to a Slack channel. They don’t need to wake anyone up. We even have some alerts that come in as “resolved,” so no action is needed. This keeps our team focused on what matters.
Common Pitfalls in Designing Escalation Policies
- Setting Too Short Delays: Delays under 5 minutes don’t give people time to respond, especially if they’re investigating. This leads to unnecessary escalations when the person is actively working on the problem.
- Setting Too Long Delays: On the other hand, a long delay means your system stays broken for longer. Find a balance that works for your team and your customers.
- Over-Relying on a Few People: Don’t make the same person the backup for everything. This creates single points of failure and burns out your best engineers.
- Using Only One Policy: A critical outage needs a different response than a minor warning. Using the same policy for every incident creates alert fatigue and burns out your team.
5 Best Tools to Create Escalation Policies
| Tool | Best For | Starting Price |
|---|---|---|
| Spike | Teams of any size wanting an affordable yet powerful tool | $7/user/month |
| PagerDuty | Large teams needing deep integrations | $25/user/month |
| Incident.io | Teams who live and work in Slack | $19 base + $12/on-call user/month |
| Squadcast | SolarWinds users needing noise reduction | $12/user/month |
| Zenduty | Teams needing alert filtering & ITSM integration | $6/user/month |
1. Spike
Spike gives both teams and individuals control over alerts. Managers can create escalation policies that specify exactly how someone gets alerted. At the same time, users can set personal preferences.
You can add wait times for auto-resolvable incidents. Also, you can route alerts to specific Slack channels with Slack mentions:@channel, @here, @user, or no mention.
2. PagerDuty
PagerDuty puts control in individual hands. Each user sets their own alert preferences, like time delays and channels. Team leads can’t specify whether someone gets a phone call or SMS in escalation policies.
It offers strong multi-channel alerts with rich Slack actions. However, advanced features like ML-powered noise reduction come at an extra cost (AIOps: $799/month).
3. Incident.io
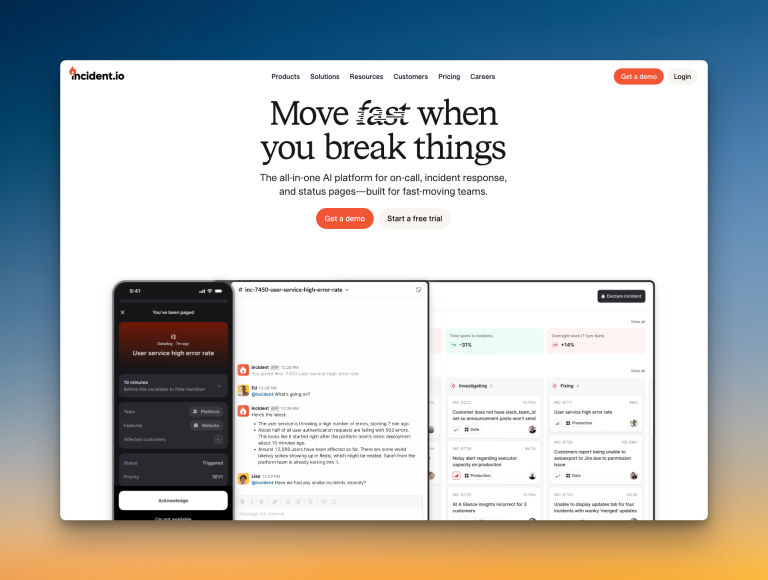
Incident.io uses an intuitive flowchart style for escalation policies. You can add if-else conditions for working hours or incident priority.
It works well for teams that operate primarily in Slack or Microsoft Teams. However, the initial setup can be complex with many customization options.
4. Squadcast
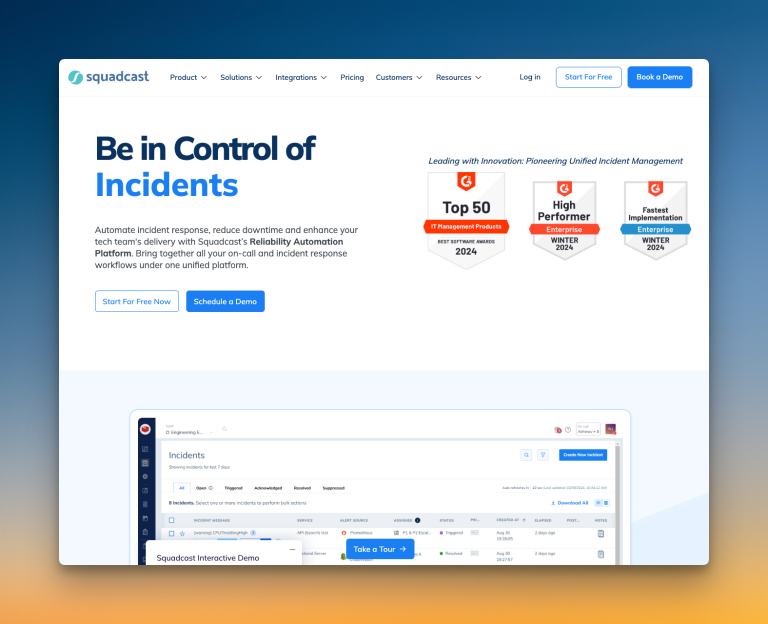
Squadcast, recently acquired by SolarWinds, gives both teams and individuals control over alerts. You can choose round-robin routing for each escalation step.
It uses machine learning to group related alerts intelligently. You can also set working hours for each service to route alerts differently.
5. Zenduty

Zenduty has a “Move to next rule if no user is found” option in escalation policies. This prevents policies from getting stuck.
You can add task templates and SLA policies to each service. However, repeat escalation only allows fixed 1-minute delays between repetitions, which is very short.
Conclusion
Escalation policies are your safety net when incidents happen. They make sure critical problems get resolved fast by the right people.
Start simple with a basic policy and improve it based on real incidents. Test your setup regularly and adjust based on what works for your team.
Your escalation policies are only as good as the on-call schedules that support them. So, it’s also important that you have solid schedules to back them up.
FAQs
- What is an escalation matrix?
An escalation matrix is a visual guide for your escalation policy. It shows who to contact at each level for different types of incidents.
2. What is the difference between an escalation policy and an on-call schedule?
An on-call schedule decides who is the first person to get an alert. It rotates responsibility among the team to share the load.
An escalation policy decides what happens next if that person doesn’t respond. It’s the backup plan that contacts the next person in line.
3. What if an incident resolves itself before anyone responds?
This is why tools like Spike have a wait time at the start of the escalation policy. It allows you to set a delay of a few minutes. If the issue fixes itself during that time, the alert is automatically resolved, and no one gets disturbed.